If you’ve read our article on Best Razor Dirt Bike Battery Options, you probably have a good idea which battery upgrade you want.
But how do you change the batteries on a Razor dirt bike? Is it as easy as popping your car’s hood open, or pulling the lid off a can of sardines?
Yeah, not quite. Razor dirt bikes look like those kiddie rides from the toy store where you just pop the seat or battery lid open and change the batteries, but it’s actually a little more complicated. Don’t worry though, it’s an easy fix.
How Do You Change the Batteries on a Razor Dirt Bike: Detailed Instructions
You can change the batteries on a Razor dirt bike in 4 quick steps, and it only takes about 15 minutes. You just need the replacement battery and a set of tools. And remember, turn off the power first!
You’ll need these supplies and tools before you start:
- Razor Dirt Rocket replacement batteries
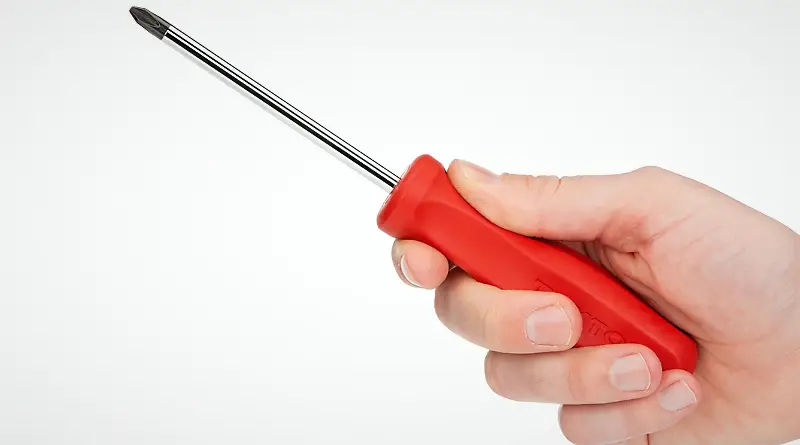
- Needle nose pliers – Amazon
- 4mm Allen key wrench – Amazon
- 5mm Allen key wrench – Amazon
- Phillips head screwdriver – Amazon
Right. You’re good to go. Let’s get started.
Step 1: Unscrew the Fairings
Fairings are just plastic covers that cover all of the inner parts of your Razor dirt bike. Look under the gas cap for the first screw. To remove it, you’ll need a 5mm Allen wrench.
Under the tail, there are 2 screws. They both use a 5mm wrench. You’ll be able to lift the plastic fairing straight up after removing the 3 screws. Put it aside once it’s off.
There are six Phillips head screws to remove. Look for them around the edge of the battery cover. After you remove the screws, you can slide the face straight out. There are wires connected to the backside of the battery cover, so be careful when you remove it. A power cable goes from the charger to the power switch. Squeeze the connector and pull the plug apart to disconnect the charging.
You’ll need the needle-nose pliers to work the power switch. There are two wires. Grab the wire with the pliers and just pull straight out. So you don’t cause a plug disconnection, make sure you grab the part of the connector that’s attached to the wire, not just the wire.
Remove the back portion of the cover after you’ve disconnected the switch and the charging wires.
Step 2: Take the Battery Out
For this part, you’ll need an Allen wrench. The battery is fastened to the frame with a tiedown strap. There are screws on both sides of the battery tray. The metal strap will pop right out after you remove the screws.
Connectors attach the batteries. If you aren’t sure which wires to disconnect, follow the wires from the battery to the connector. It’s just a matter of pinching the sides and pulling apart the connector once you’ve found it.
You should now be able to lift the batteries right up over the edge of the tray and pull them out.
Step 3: Put the New Battery In
Placing the new batteries in the tray with the cables on the same side as the original batteries is easy. Just slide them over the tray. Then, slide the metal tie-down strap over the batteries and tighten it with the Allen wrench. Lastly, connect the power cables to the connector. Be sure to push it in until you hear it snap together.
Step 4: Put the Fairings Back On
You’re almost done. Let’s start with the back. Connect the power switch and the charging port. There are two positive cables going to the power switch, so you can connect them in any order. Taking the cable for the charging port, connect it to the open connector on the harness.
After you’ve reconnected all the plugs, slide it over the battery and line up the holes with the dirt bike’s frame holes. Now slide the other side of the cover on, making sure it lines up with the other side’s holes. It’s time to put the screws back in the plastic casing.
Again, you’ll need a Phillips head screwdriver. Remember your 6 screws? The bottom and sides are screwed together using four long screws, while the top is screwed together with two short screws.
You can now reinstall the top fairings after the battery cover goes on. You set it a few inches back on the frame and then slide it forward. Then, get the 3 screws and the 5mm Allen wrench. Replace the screws under the seat on the backside and the one in the gas cap location on the front. The gas cap goes back on after the screws are in.
Now you’re good to go.
Also read: How Long Does a Razor Electric Dirt Bike Battery Last?